To start using Shodrex, you would need to sign up as a merchant to get your web address, upload a logo and cover photo for your eCommerce store or website, fill your business profile, publish your own merchandise or content.
You could also select a premium pricing plan to qualify for shodrex's referral/affiliate program, visit rewards to get your referral link that you can share with prospective merchants and get paid.
A customer?
find merchants and products
STEP 1
- Visit Shodrex.com
- Click the Menu Icon that opens a drop down
- Click on "Sign Up" or just click on this link https://www.shodrex.com/ownstore to skip step 1 and 2.
- Fill the form and get registered in less than 5 minutes.
- Log in

STEP 1
- Visit Shodrex.com
- Click the Menu Icon that opens a drop down
- Click on "Sign Up" or just click on this link https://www.shodrex.com/ownstore to skip step 1 and 2.
- Fill the form and get registered in less than 5 minutes.
- Log in
STEP 2
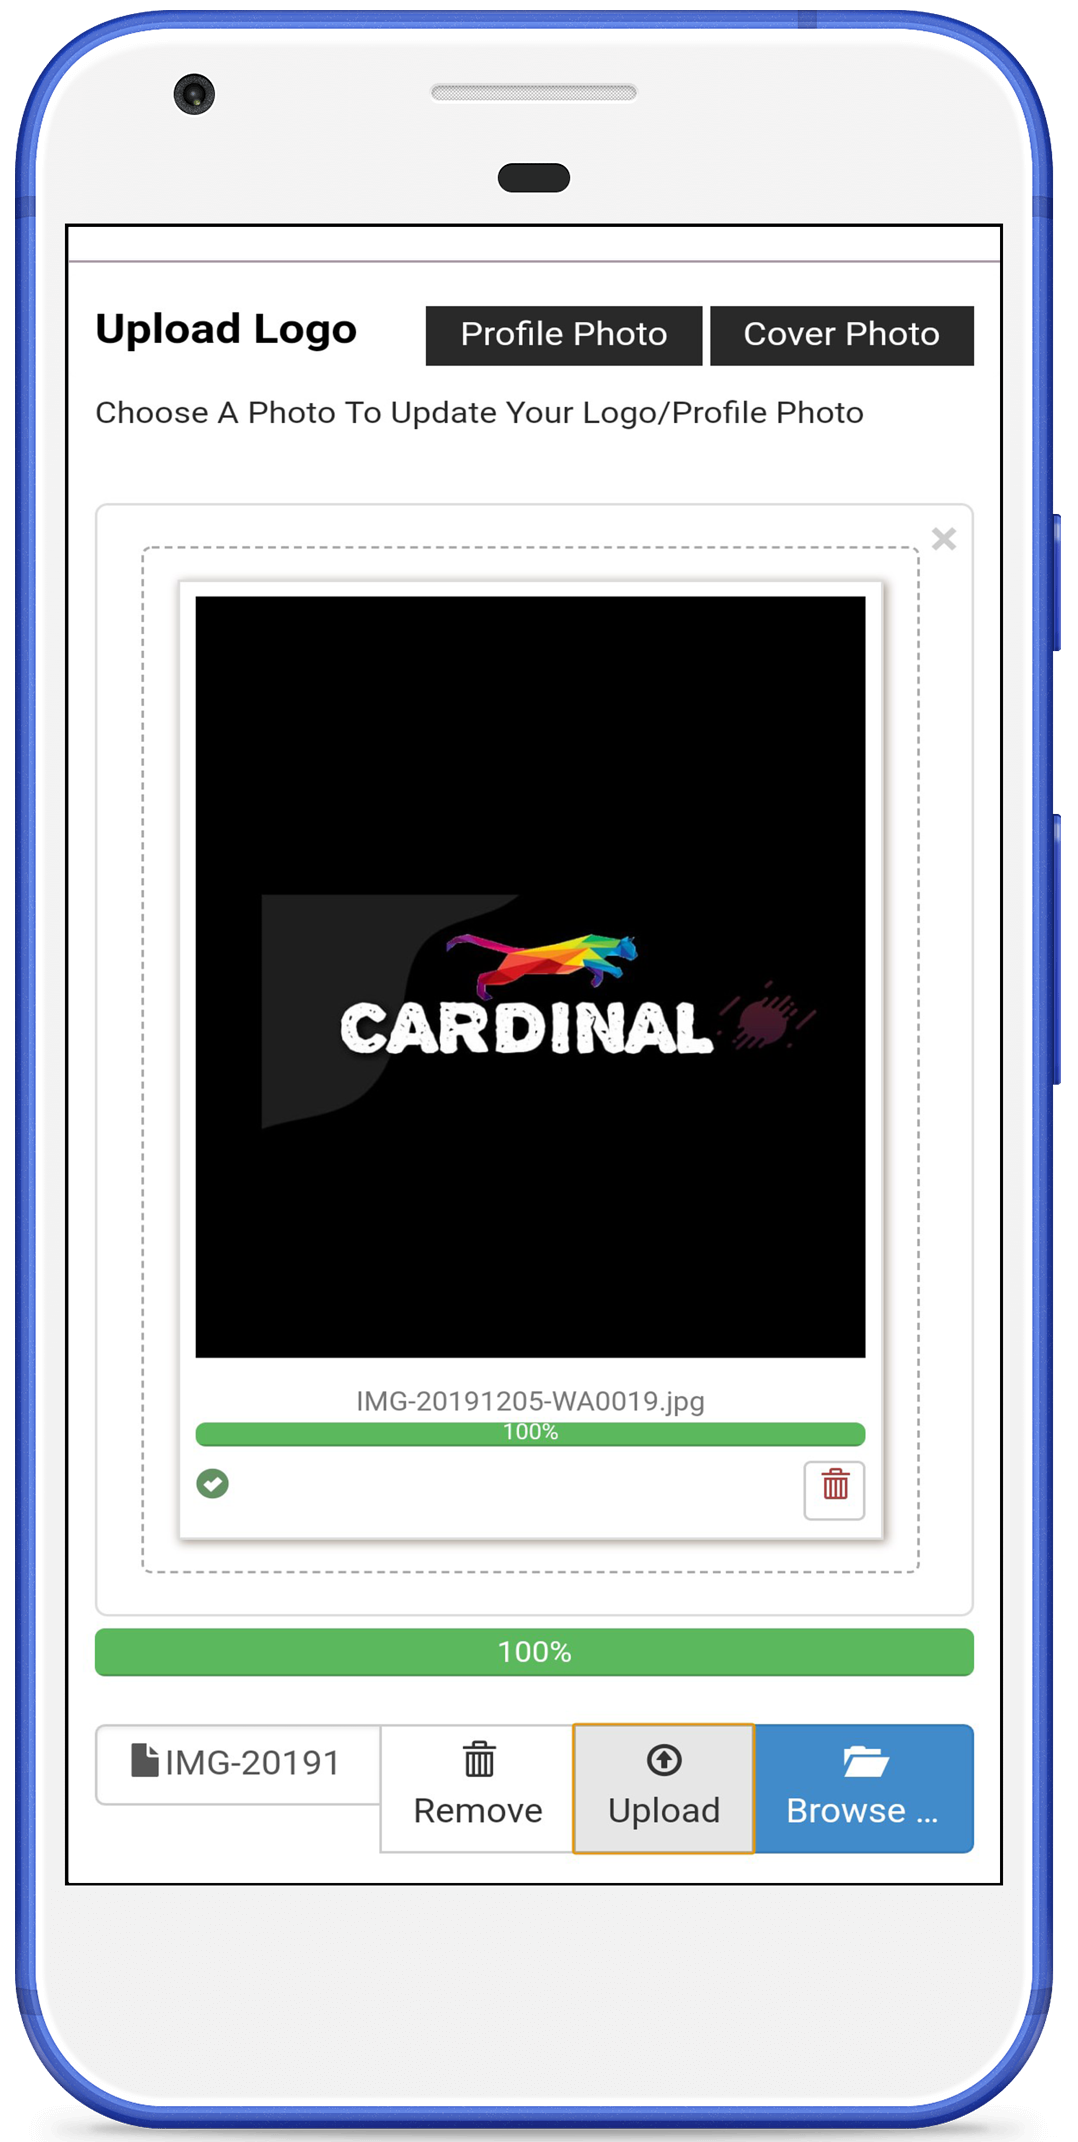
- Upload a logo or cover photo by clicking on "upload logo" on the dashboard.
- On the next page, select either profile photo to upload your logo or cover photo to upload a cover photo.
- Then click on browse to select a photo.

STEP 2
- Upload a logo or cover photo by clicking on "upload logo" on the dashboard.
- On the next page, select either profile photo to upload your logo or cover photo to upload a cover photo.
- Then click on browse to select a photo.
STEP 3
- Edit and fill out your business profile by clicking on "settings" when you scroll down on your dashboard.
- After clicking on settings, click on the edit button beside “profile information” to fill up the desired fields.
- Then scroll down below the profile and fill in the required account details to receive funds.
- Then click on "save to profile".
STEP 4
- Click on "Publish Item" on the dashboard to upload a product or content.
- Select the photo of the product and click on upload.
- Fill the required field "title" with the name of the product.
- Select description and add a description or any other info your buyers might need concerning the product.
- Select price and input the price of the product.
- Select a category.
- Click on "Update" to update it on your store/blog/website.
- If it's a blog post, don't add a price.
- Just upload the photo, fill in the title of the blog post, input the body of the post in the description field, and select the category before clicking on "Update".
STEP 5
Shodrex runs an affiliate/referral program where you would get paid for referring merchants to shodrex.
This program is open to those who are on premium paid plans only.
There are many other premium features available on the premium plans. Visit: Pricing to know more.
To join a paid plan, follow the procedure below.
- Click on "pricing" when you scroll down on your dashboard.
- Subscribe to a price plan. There is one free plan which you're automatically on and two paid plans which include the Lite and Business plans to grow your business.


